Epiphany / Electronics
Electronics
Same programming logic as the standard Ion — a gray programming button plus the power button — with Epiphany-specific stock values and an explicit millisecond scale instead of just click counts.
Vision modes
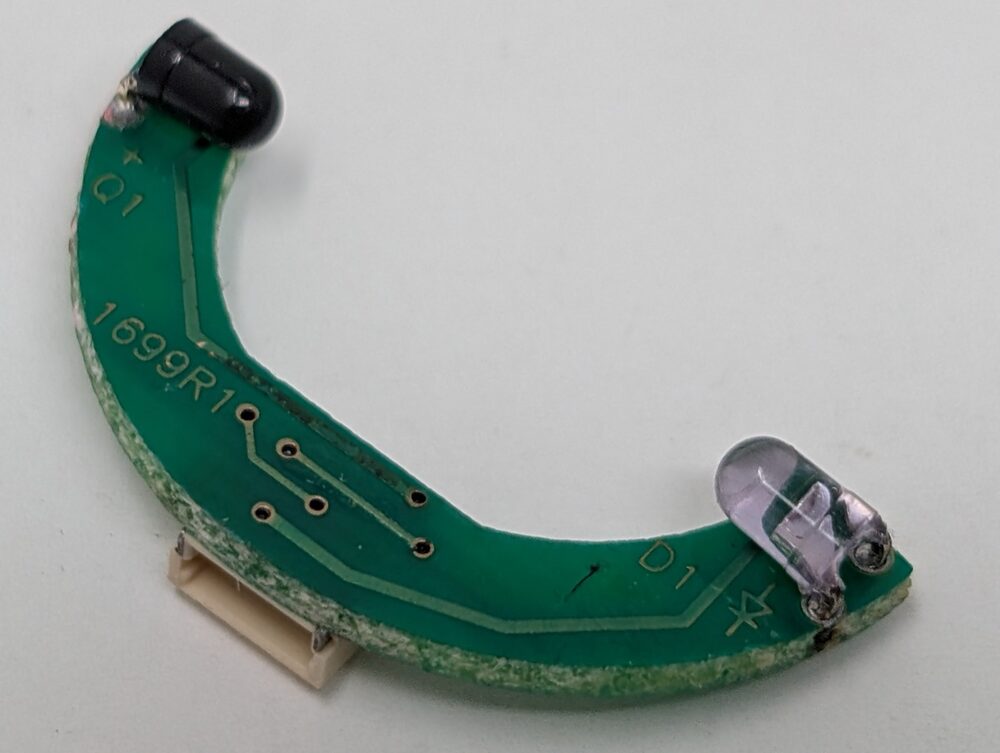
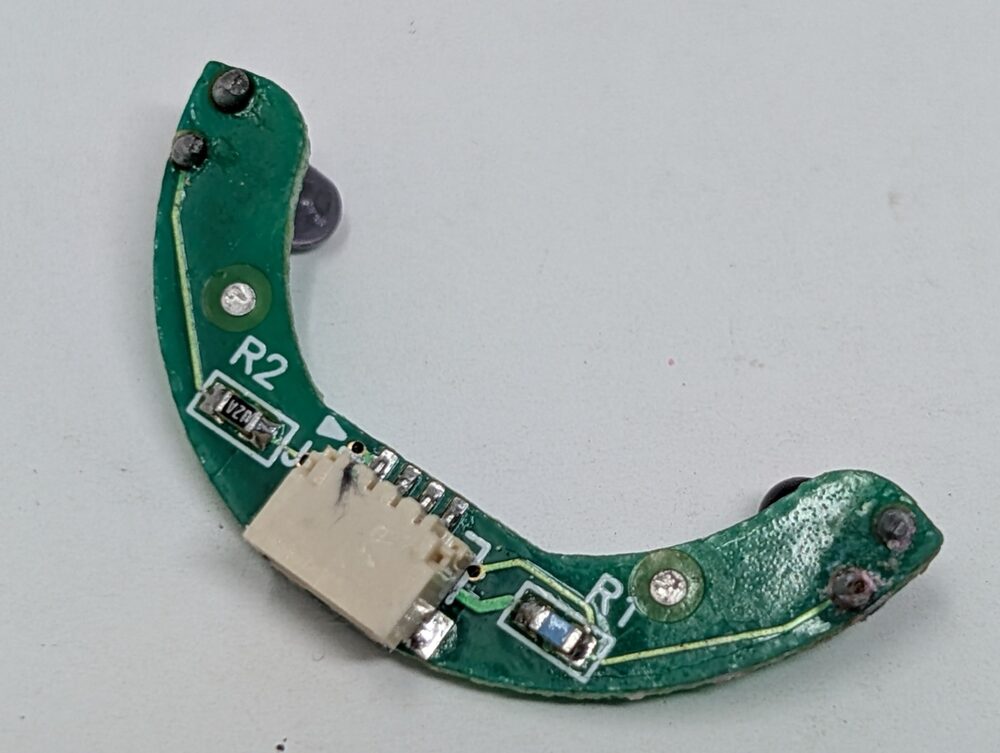
- Rapid blink: Vision on, ball detected — ready to fire.
- Slow blink: Vision on, no ball in the breech.
- Double-tap blink: Vision off — marker will fire regardless of chamber state. Toggle with a quick press of the power button.
Programming the board
Remove the two left-side grip screws and fold the grip back to access the small gray programming button on the circuit board. Press it to cycle through six settings, indicated by yellow/red LEDs next to it:
| Setting | Indication | Controls |
|---|---|---|
| 1 | Solid yellow | Dwell — up |
| 2 | Solid red | Dwell — down |
| 3 | Single blink yellow | ROF Delay — up (slower) |
| 4 | Single blink red | ROF Delay — down (faster) |
| 5 | Double blink yellow | Fire mode — up |
| 6 | Double blink red | Fire mode — down |
Each power-button press changes the selected setting by one increment; both LEDs blink to confirm. When only one LED blinks, you've hit that setting's limit. Pull the trigger to exit programming and save.
Fire modes cycle: semi-auto, rebound, 3-shot burst, full auto.
- Semi-auto: one shot per trigger pull.
- Rebound: fires more than one shot per pull if you pull the trigger at a constant, rapid pace — lets a fast trigger finger get automatic-like output without the marker actually free-running. Comparable to what modern boards call "ramping," though the Epiphany's version has no configurable ramp ratio — it's an earlier, simpler take on the same idea.
- 3-shot burst: up to three consecutive shots per pull. Release the trigger before all three fire and it stops early.
- Full auto: fires continuously for as long as the trigger stays held back.
UK boards (green LED) skip burst and full auto. Semi/rebound cap at 17-bps; burst/full-auto cap at 10-bps regardless of settings.
Setting dwell after an insert change: gas up with no paint/hopper and Vision off. Lower dwell until the bolt won't complete a full cycle, then raise it one click at a time until you get a full shot, then add 15–20 more clicks for best efficiency, rather than stopping right at the bare minimum — that minimum is a knife's edge, not a stable setting. Cycle-to-cycle variance (a slightly colder tank, thicker lube, more mechanical friction) can push a marginal dwell below what's needed on any given shot, and the first shot after the marker's sat idle needs more margin than that, since static friction is highest right then. A weak or failed shot from running too close to the edge wastes more air (and a paintball) than the extra 7.5–10ms this margin costs — that's the actual efficiency tradeoff, not raw gas per shot. If first-shot drop-off appears after this, clean/lubricate the bolt assembly first; if that doesn't fix it, raise dwell further.
Tuning ROF Delay: most players run it near the floor and let the Vision system alone gate how fast the marker can fire. Raise it if Vision is having trouble keeping up, or to comply with a field- or tournament-mandated rate cap — the calculator below will tell you exactly which ROF Delay click count, combined with your current dwell, lands at or under a target BPS.
Dwell & rate-of-fire calculator
Dwell and ROF Delay together determine how fast the board can theoretically cycle. Adjust either one below to see the effect — same underlying formula as the standard Ion, just with the Epiphany's own confirmed stock values available as a preset.
This is the board's electronic timing only — dwell plus ROF Delay, the two settings from Programming the board above. It doesn't account for mechanical limits (bolt cycling speed, air supply flow) or the board's own firmware cap — semi and rebound are capped at 17 BPS, burst and full auto at 10 BPS, regardless of how fast the calculated cycle time would otherwise allow. Useful for understanding why a given dwell/ROFD combination behaves the way it does, not as a guarantee of real-world rate of fire.
On stock values: the Ion 1.0's Version 2 manual publishes both stock figures — 52 dwell, 50 ROF Delay, the exact same pair as the Epiphany's manual — in its CPS table. The base (Version 1) manual only mentions the stock dwell value.
Solenoid service
Same general procedure as the standard Ion — never lubricate the inside of the solenoid or the armature, clean and reassemble dry. Epiphany-specific solenoid required — a standard Ion solenoid isn't rated for the Epiphany's higher operating pressure.
| Coil wrap | Solenoid | Safe in an Epiphany? |
|---|---|---|
| Red wrap, black Ion logo | Epiphany-rated (or Epiphany-rated Blackheart) | Yes — this is the one you want |
| Black wrap, red logo | Pre-Epiphany Blackheart | No |
| No wrap | Standard Ion/SP-8 | No |
| Varies | Aftermarket | No |
Per the official manual, running anything but the Epiphany-rated version "may not function properly" once operating pressure climbs — the manual specifically calls out staying under 280 psi and inspecting the solenoid valve if you suspect it's been overpressurized. Easy to mix up, since two of these four wrap the exact same two colors, just swapped.
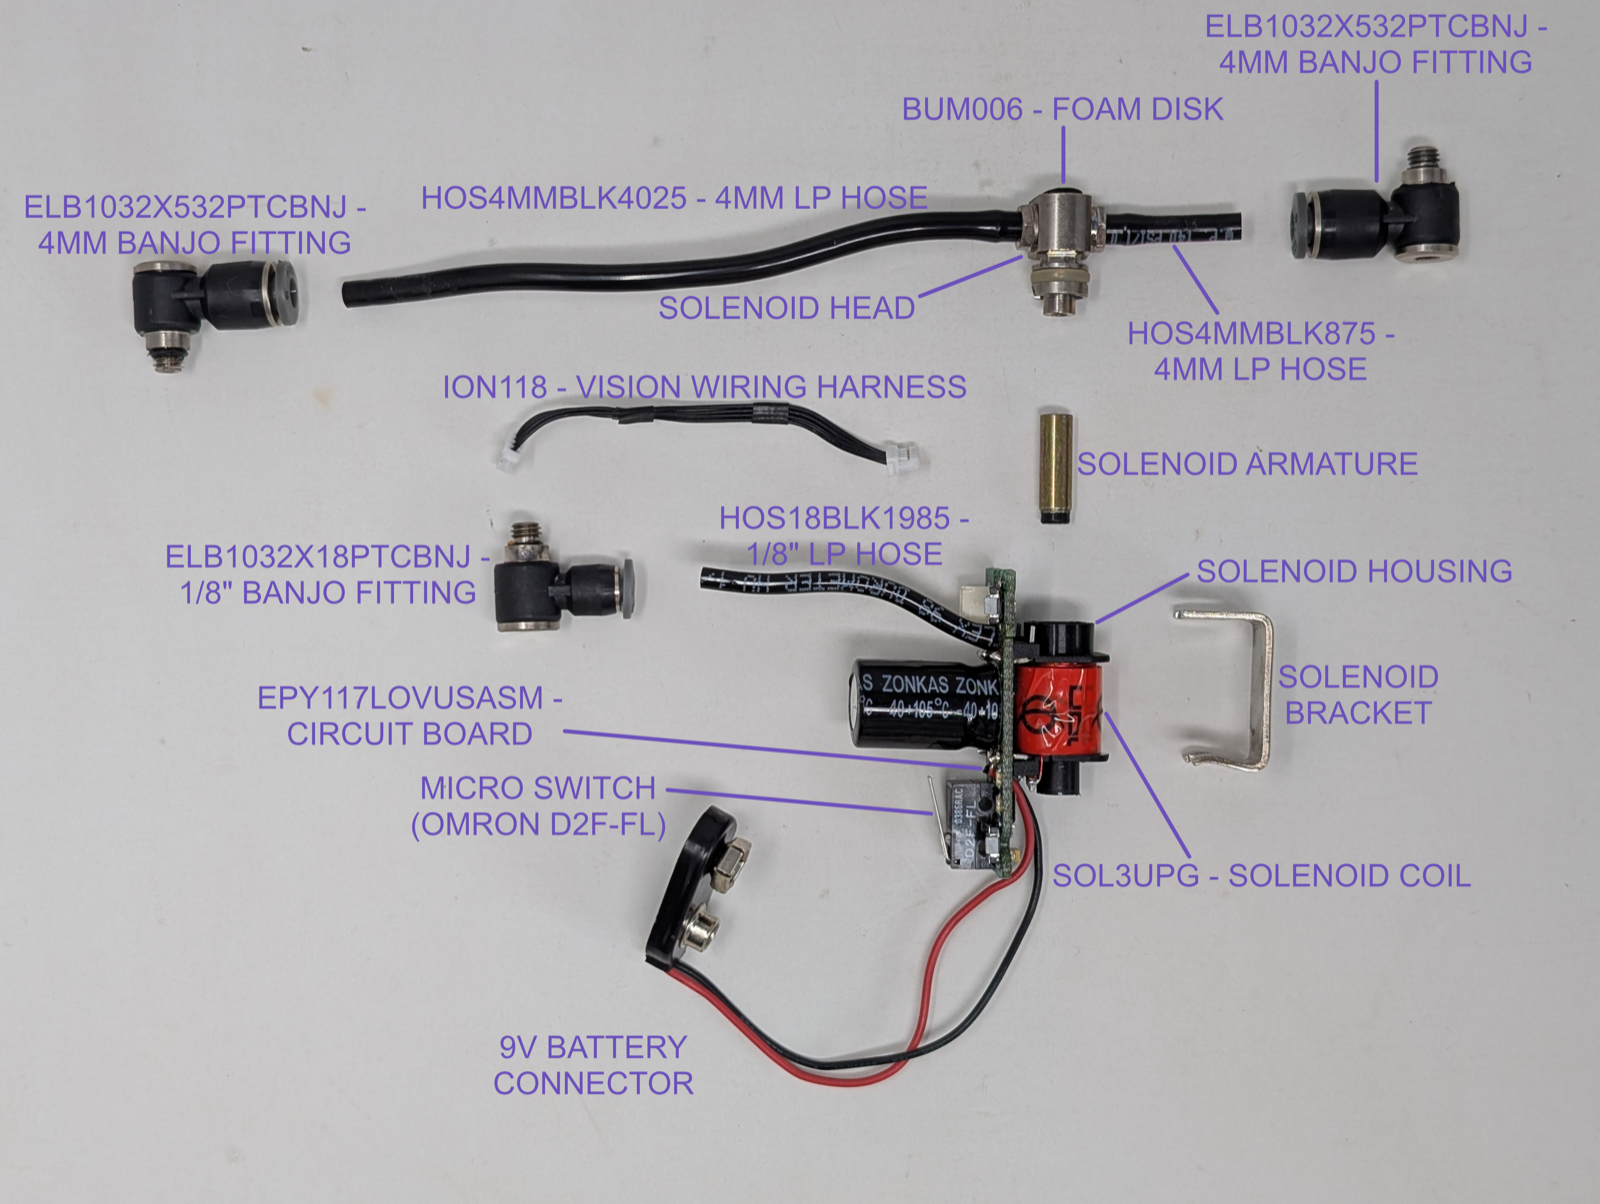
- Remove the circuit board per Teardown, then use a 3/32" hex key to pry the bracket from the back of the solenoid — work between the bracket and the upper black section, never near the red-wrapped section.
- Lift the solenoid head straight out.
- Tip the board over and let the armature fall into your hand.
- Clean the solenoid interior with a cotton swab, the armature with a soft cloth — no lubricant on either.
- Reassemble: armature back in with the bumper end down, head pushed back in with the hoses/Vision harness on the same side as the trigger switch, bracket pressed back on with its bent section on the underside.
Removing microline hoses from barb fittings
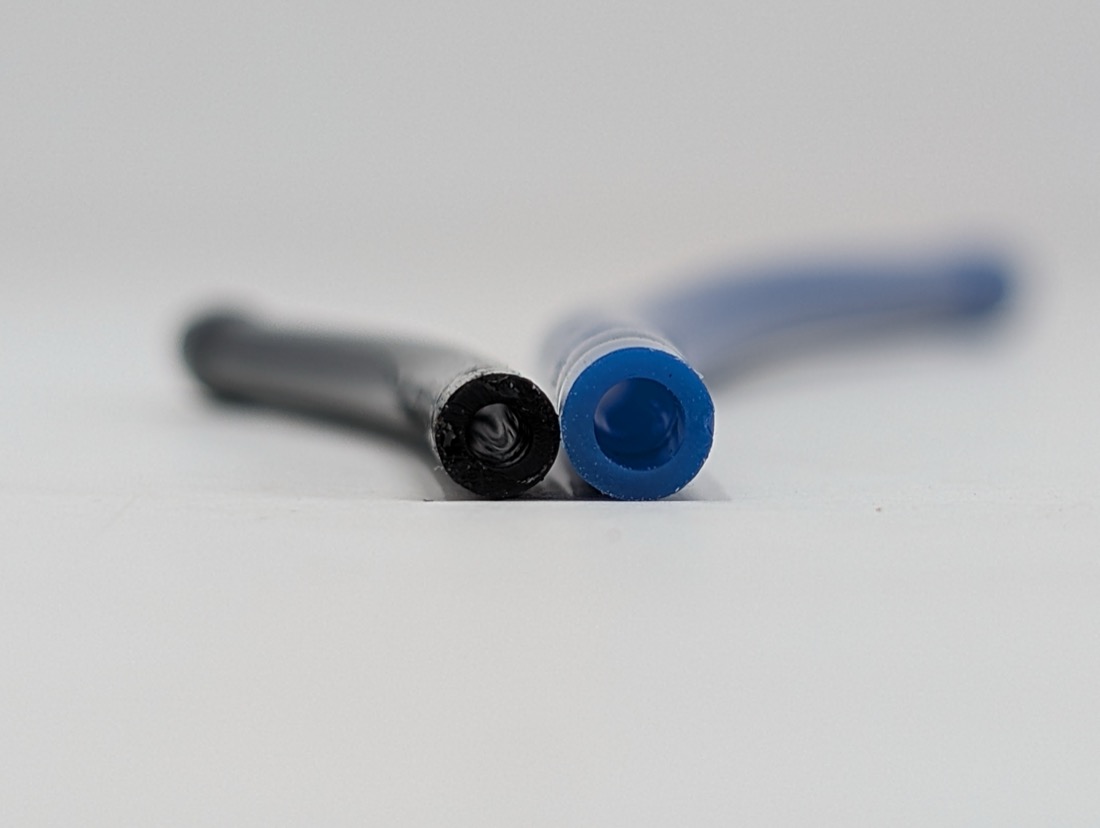
This is about pulling the flexible hose itself off a barb — for unscrewing a banjo fitting from the body, see Teardown. Cold microline grips a barb stubbornly. Warming it first — a hair dryer is the safer choice — softens the tubing enough to pull free by hand. A heat gun also works, but treat it carefully: even on its lowest setting, it heats up much faster and hotter than a hair dryer, and it's easy to overheat the hose or a nearby part before you notice. Slip-joint pliers are a reliable alternative to heat — grip with just enough force to twist the tubing free, not so much that you crimp it. Microline is fairly forgiving, especially when it's cold, so there's more margin here than it might feel like.
For the 5/32" microline, removing the solenoid head first (as above) gives much better access to the barb.
More than you want to tackle yourself? Check out the finished builds or get in touch to have your Ion serviced.