Ion 1.0 / Teardown
Teardown
Where full disassembly begins — this gets you from stock down to the major subassemblies, in order. Shared across Ion 1.0, Ion 2.0, and Ion XE for reaching the board, solenoid, or Vision system, since those parts and their grip-frame mounting are identical across the family. For the bolt/valve internals specifically once you're inside, see Firing Assembly — this page covers getting there.
What you'll need
- 1/8" hex key
- Phillips screwdriver
Disassembly
- Remove the barrel. From above the marker, remove the vertical screw in front of the barrel threads and set it aside.
- Remove both left-side grip screws (the side with the pressure gauge), open the grip, and disconnect the battery — always disconnect by unplugging the connector itself, never by pulling on the circuit board wires. Pulling the wires can rip a connector or trace off the board, which then means resoldering it back on.
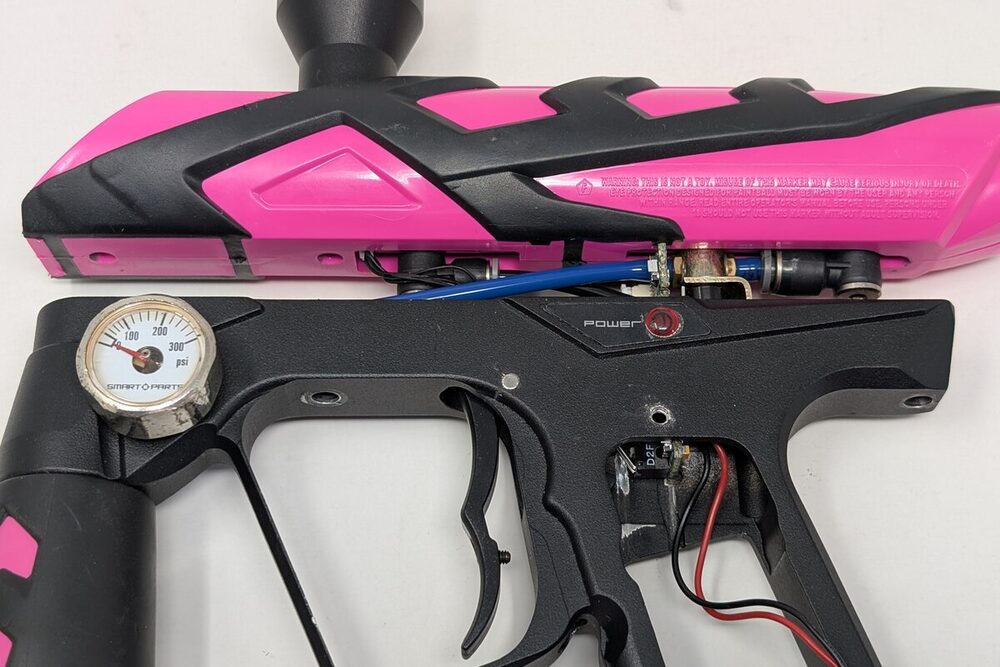
- Remove the front and rear grip frame screws. Grasp the body with one hand and the grip frame with the other, and gently roll the body away from the grip frame until you can reach the top of the grip frame with a hex key.
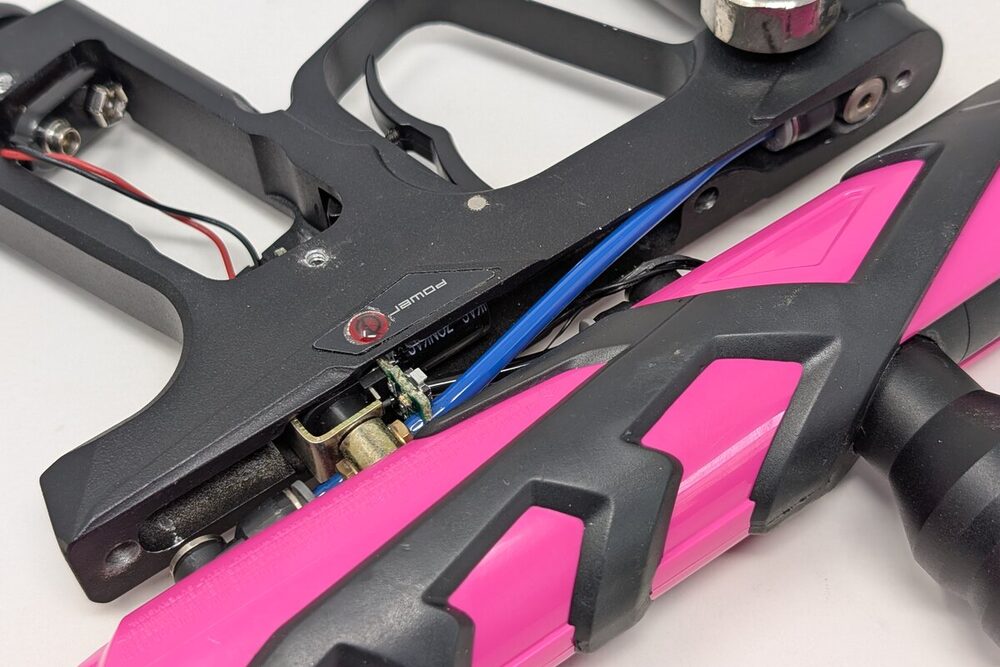
- Remove the pneumatic banjo fitting located above the regulator.
- Finish separating the body from the grip frame and set the grip frame aside. Turn the body upside down, disconnect the Vision wire harness, and remove the remaining two banjo fittings.
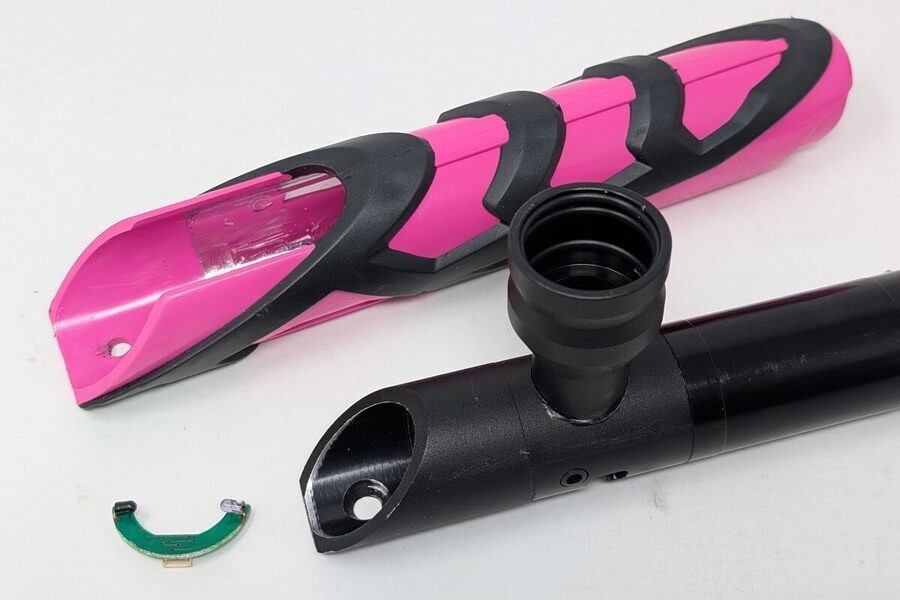
- With the body still upside down, slide the inner body assembly (fire chamber and body breech) out of the body. Lift the Vision eye board straight up with your fingers — it's roughly C-shaped, with one eye at each end.
Ion 1.0 / Ion 2.0 only: bolt access
- Unscrew the fire chamber and body breech from each other. The bolt and bolt stop remain in the body breech — pull the bolt out, shifting it to the side to clear the bolt stop's edge, until both come free.
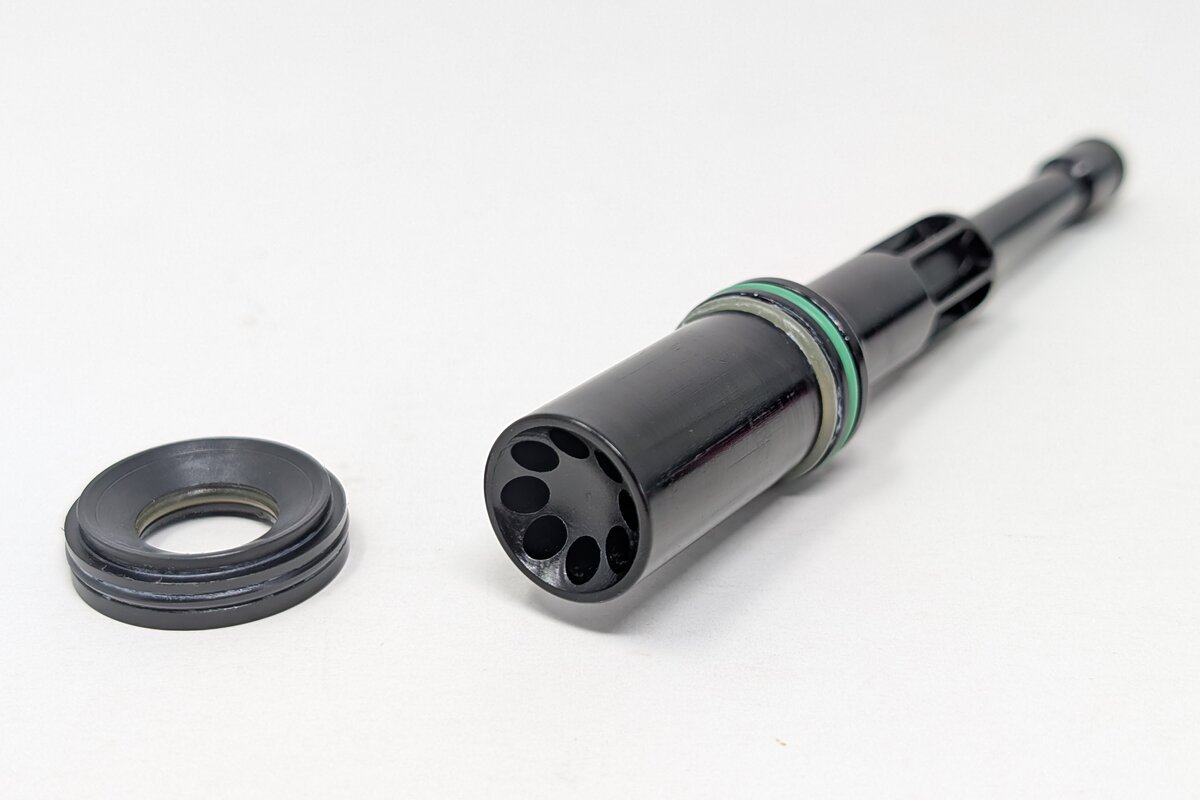
From here, see Firing Assembly for inspection and o-ring replacement on the bolt and bolt stop, or Electronics — Solenoid service for removing the solenoid bracket and cleaning the internals.
Reassembly
Reverses Disassembly above, in order. Ion XE readers who followed Rear-Load Bolt instead of continuing past the Vision eye board: pick this list back up at step 2.
- Ion 1.0 / Ion 2.0 only: if you went as far as bolt access, reinstall the bolt and bolt stop into the body breech, then thread the fire chamber back on — see Firing Assembly for greasing and orientation details.
- Set the Vision eye board back into the body — it's keyed by its C-shape, so it only seats one way. Thoroughly clean the area it seats into with a cotton swab first, and make sure the foil sticker inside the body stays intact — it helps the eyes recognize paintballs and shouldn't be removed. Slide the inner body assembly (fire chamber and body breech) back into the body.
- With the body still upside down, reconnect the two banjo fittings you removed alongside the Vision harness, then reconnect the Vision wire harness itself. Its connector is keyed to go in only one way — the pin layout is offset, not centered — forcing it in misaligned will damage the eye board.
- Turn the body right-side up and bring it back toward the grip frame. Reconnect the pneumatic banjo fitting above the regulator.
- Roll the body fully onto the grip frame the same way you rolled it apart, and reinstall the front and rear grip frame screws.
- Feed the circuit board back into the grip frame, lining its edges up with the slots molded into the frame — the board slides down into them. Work slowly and make sure the battery wires aren't binding or getting pinched in the channel as the board seats. Reconnect the battery by plugging the connector directly — never by pulling on the wires — then reinstall the left-side grip screws and close the grip.
- Reinstall the barrel with its vertical screw in front of the barrel threads.
More than you want to tackle yourself? Check out the finished builds or get in touch to have your Ion serviced.