Ion XE / Rear-Load Bolt
Rear-Load Bolt
The XE’s whole reason for existing is this procedure — Smart Parts redesigned the body around a one-piece fire chamber and body breech that comes apart from the back. Routine bolt and firing assembly service needs nothing more than the rear cap off: no grip frame separation, no body splitting, not even opening the grips. Compare that to the Ion 1.0, where reaching the same components means separating the body from the frame and then unscrewing the fire chamber from the body breech to get at it.
What you’ll need
- 5/16” hex key
- A soft push tool. A barrel squeegee like Exalt’s Barrel Maid works well — its flexible, sheepskin-wrapped shaft is built specifically not to scratch a bore. A wooden chopstick or plastic toothbrush handle works too, if you’d rather not buy a dedicated tool. Don’t use metal, which can scratch the bore.
- Molykote 33 Light marker lubricant (or equivalent silicone-based paintball grease) — see Firing Assembly for why grease, not oil, is right for this style of valve
- 70% isopropyl alcohol (an ultrasonic cleaner works well for a thorough pass), or an aircraft-safe electronics cleaner
Disassembly
- Unscrew the bolt sleeve from the back of the marker with the 5/16” hex key.
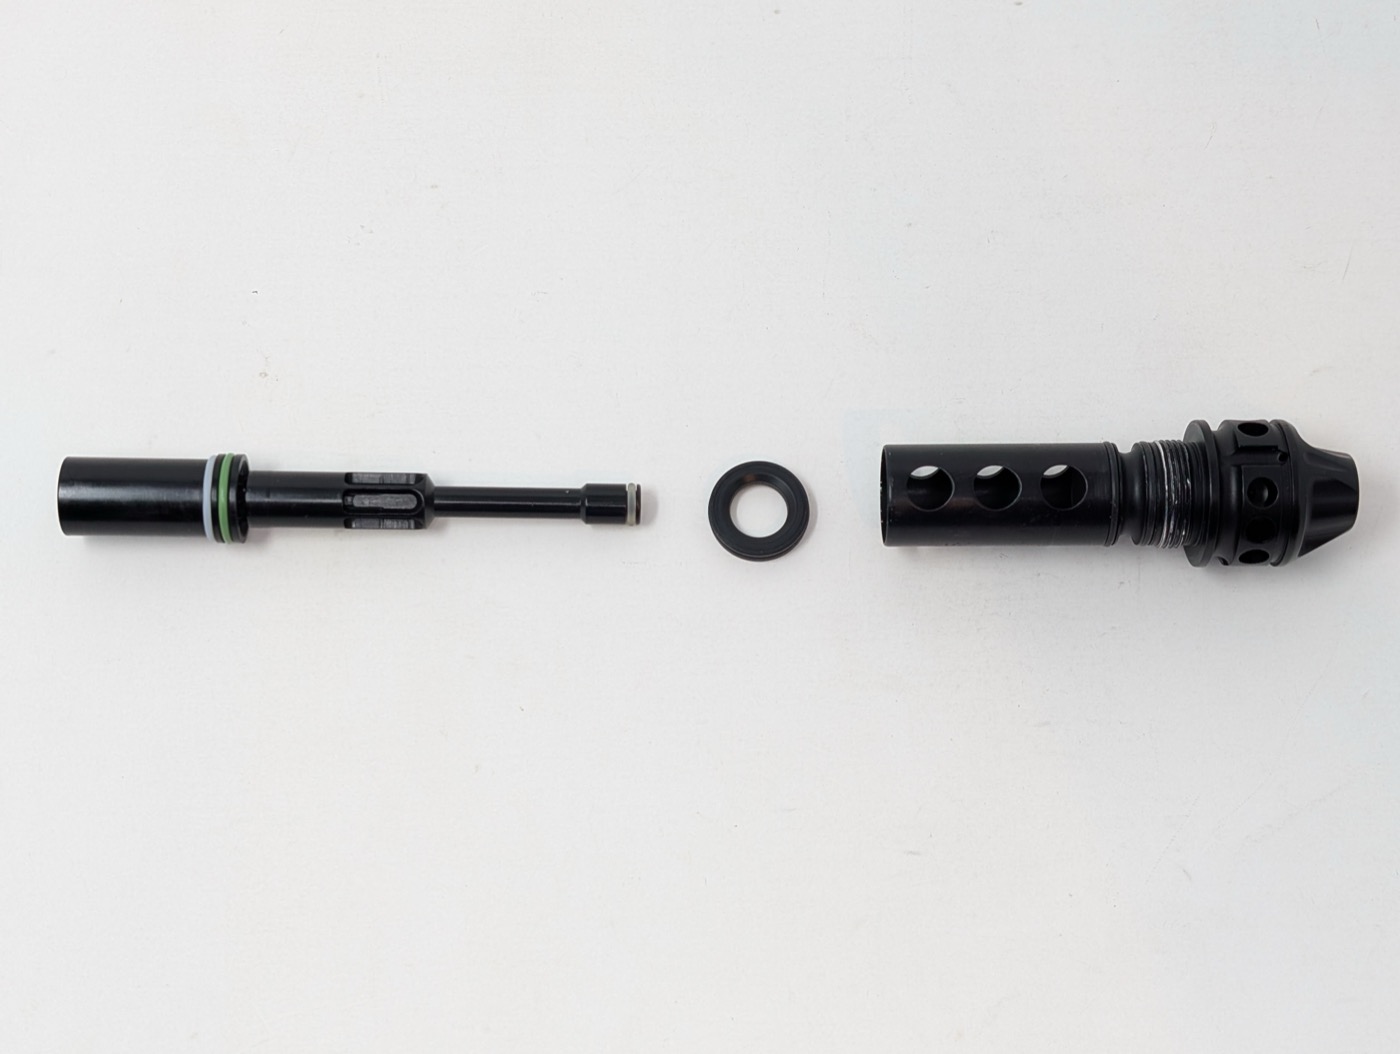
- Using the soft push tool, push the bolt, bolt stop, and volume control insert (if your bolt has one) out through the back. If you know your marker is well-maintained, a few firm taps of the rear against your palm can walk everything out far enough to finish pulling by hand — but that’s only a good idea because it’s already in good shape. If you’re not confident of that (unknown history, hasn’t been serviced in a while), default to the push tool instead.
- Clean the interior of the body, the bolt sleeve, the bolt, and the bolt stop with isopropyl alcohol. Inspect every o-ring for rips or cuts — see O-Rings & Torque Specs for exact sizes.
Reassembly
- Lubricate the o-rings.
- Slide the volume control insert into the bolt sleeve, if present.
- Slide the bolt stop onto the bolt from the rear.
- Slide the assembled bolt/bolt stop into the rear of the marker.
- Screw the bolt sleeve back into place — snug, but don’t overtighten.
That’s the entire routine service procedure. Recommended interval: after every 3–4 days of use, or any time you notice erratic performance or visible paint/dirt contamination.
Related
- Electronics — identical to Ion 1.0/2.0
- Regulator & ASA — identical to Ion 1.0/2.0
- Troubleshooting
- Need the board, solenoid, or Vision system instead? See Teardown — grip frame separation is identical to Ion 1.0, but you don’t need any of it for routine bolt or firing assembly service.
More than you want to tackle yourself? Check out the finished builds or get in touch to have your Ion serviced.