Guides / Ion 1.0
Ion 1.0
The original spool-valve Ion. Most common on the used market — this is the full rebuild track, start to finish.
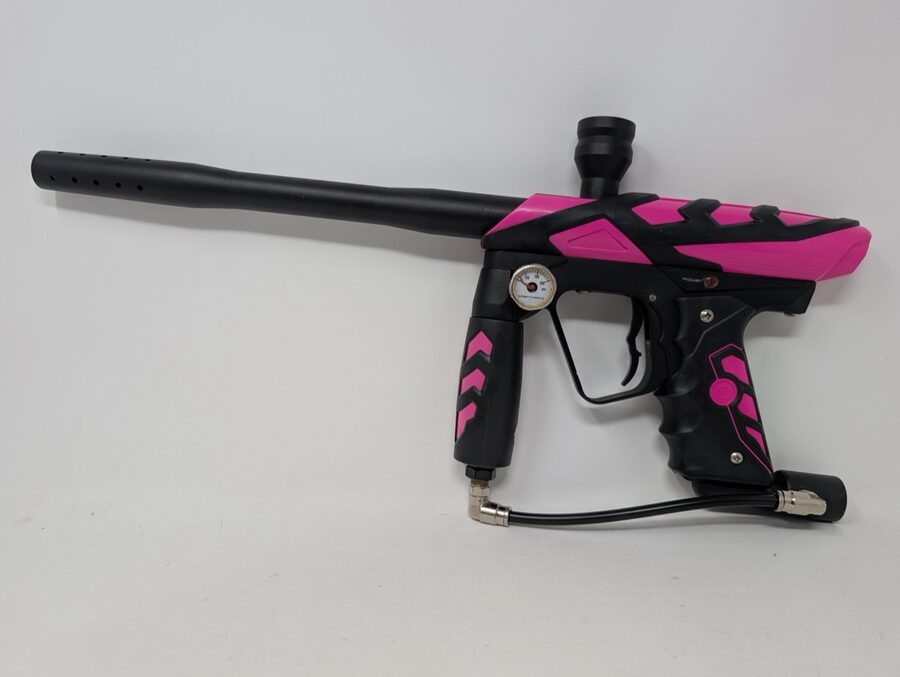
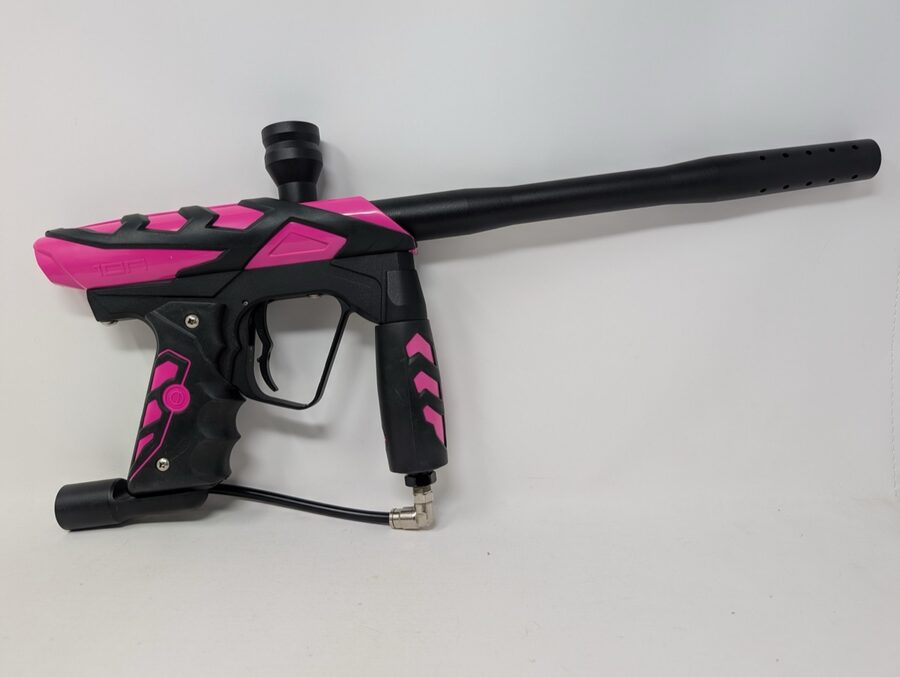
Before you start
Almost every used Ion I pick up needs the same core service, no matter how clean it looks from the outside. After going through more than 100 of them, this is my standard practice on any marker that's new to me:
- Replace every o-ring. On a marker this age, the originals are usually flattened, dried out, or swollen — even ones that still seal today. Doing them all at once beats chasing leaks one at a time. Exact sizes are on the O-Rings & Torque Specs page.
- Inspect the solenoid armature. Most of the time it needs replacing; once in a while it's still fine. See Solenoid service for how to check it, and Solenoid armatures for replacement options now that the OEM part is discontinued.
- Check the macroline, microline, and their fittings. Leaks turn up here often enough that I check them every time — see Troubleshooting: Leaking.
What to have on hand
A 1/8" hex key and a Phillips screwdriver are all it takes to get the marker apart. For a full service, you'll also want:
- A full o-ring kit for your generation
- Molykote 33 Light (formerly sold as Dow Corning 33 / "Shocker Lube") — not the Medium formula, and not gun oil
- 70% isopropyl alcohol (or an ultrasonic cleaner) and two lint-free cloths
- For the regulator: a 3/32" hex key, a 5/8" wrench, a 9/16" deep well socket, and blue threadlocker (Loctite 242)
Only needed for specific jobs: snap-ring pliers for the swivel donut, a rubber strap wrench for the feedneck, and a 15/16" socket for the gauge. Each guide lists exactly what it uses.
The sections above follow a full service in order — start with Teardown, work through each subsystem, and use Troubleshooting for anything that still isn't right afterward. Have an Ion 2.0 or XE? Most of this track applies to yours too — start from the Ion 2.0 or Ion XE hub to see what's different first.
Major components, labeled
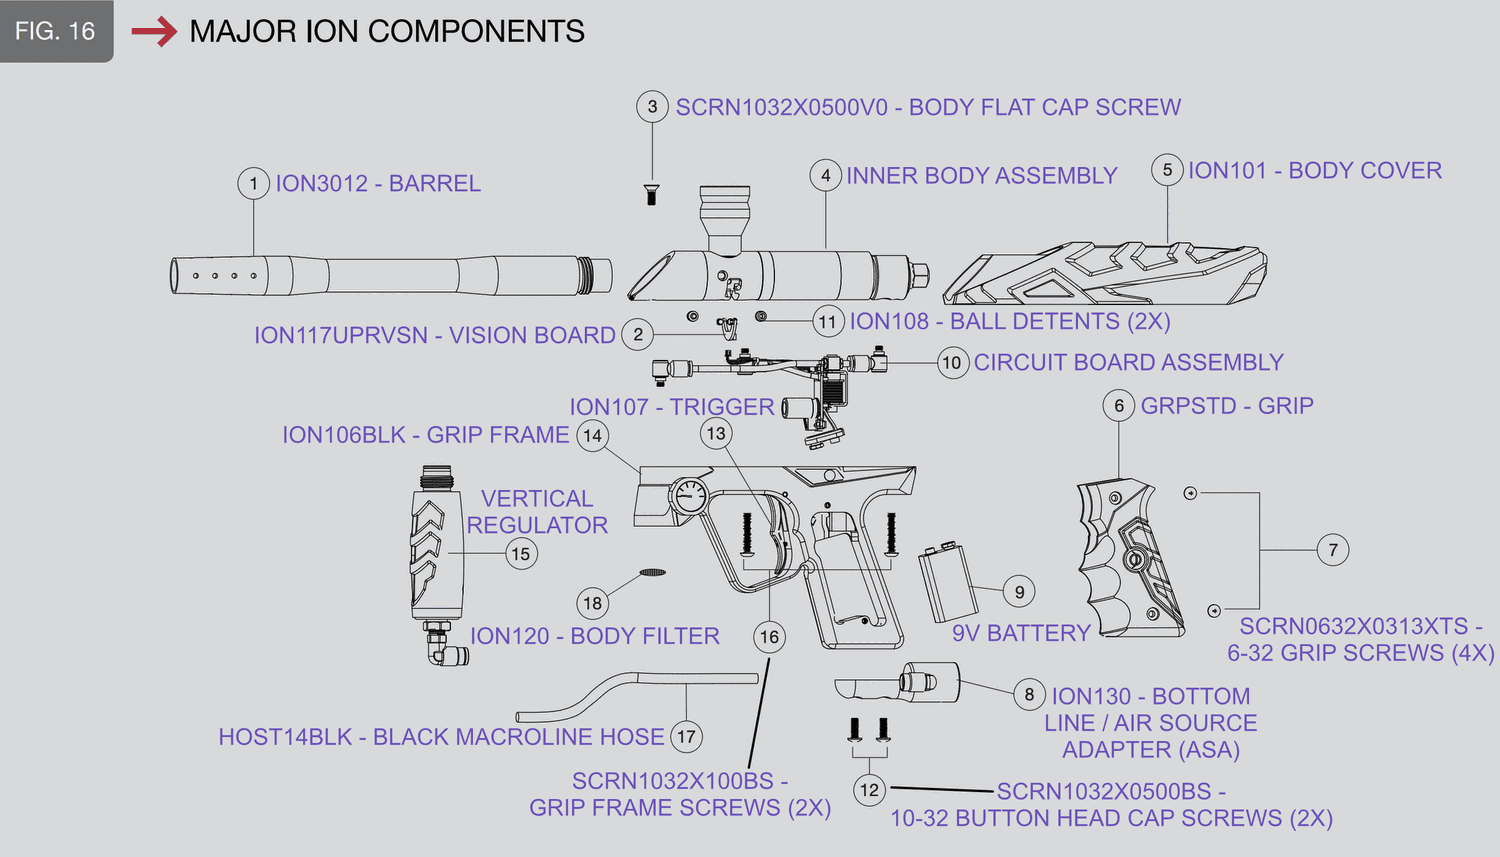
Diagram from the official Smart Parts Ion Operation and Maintenance Manual.